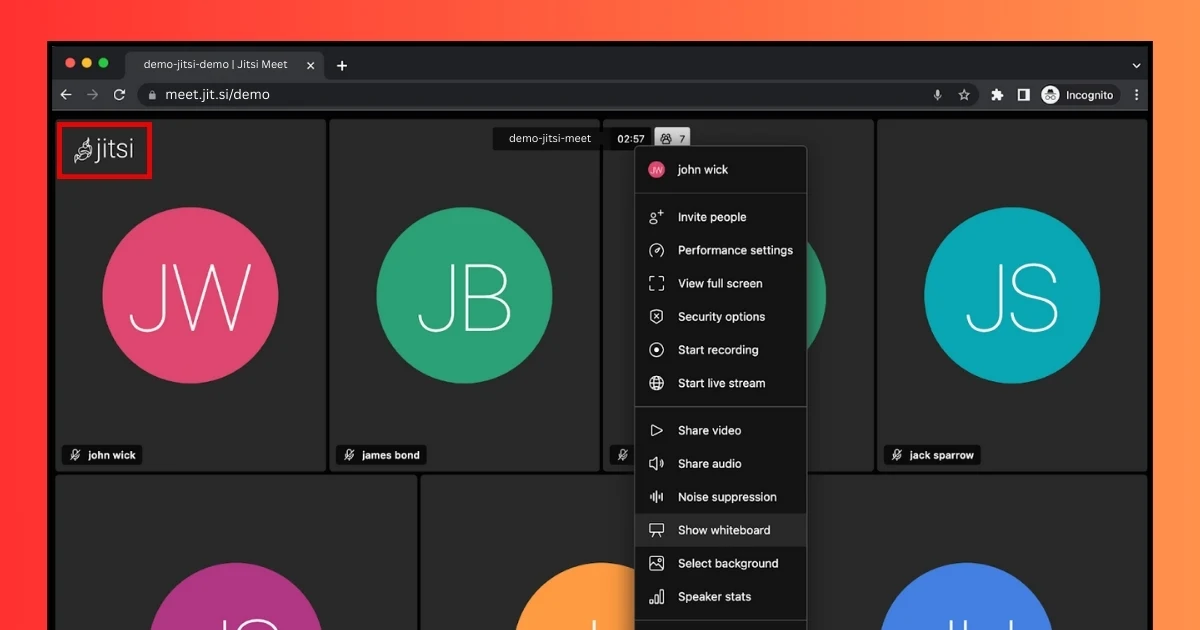
Jitsi Meet is a video conferencing platform that is open-source, enabling users to host it independently and customize it extensively. For those operating their own instance of Jitsi Meet, personalizing the interface to reflect your brand is a crucial aspect. A primary modification you might consider is substituting the default Jitsi Meet logo with your own. This guide outlines a detailed, step-by-step process for changing the logo on your self-hosted Jitsi Meet server.
Steps to Change the Logo in Jitsi Meet
1. Verify Jitsi Meet Installation
Before implementing any changes, confirm that Jitsi Meet is properly installed on your server. If it is not currently installed, you can install it using the commands below:
sudo apt update
sudo apt install jitsi-meet
After the installation is complete, confirm that Jitsi Meet is running by visiting your domain in a web browser:
https://your-domain.com
2. Locate the Default Logo File
Jitsi Meet uses a default logo stored in the following directory:
/usr/share/jitsi-meet/images/watermark.png
This is the file you need to replace with your custom logo.
3. Prepare Your Custom Logo
Format: PNG
Recommended Size: 300x100 pixels
Background: Transparent (for better integration with the interface)
Replace the default watermark.png with your custom logo and ensure it’s placed in:
/usr/share/jitsi-meet/images/
4. Optional: Update Interface Configuration
The logo on the homepage and conference room (top-left corner) is defined in the interface_config.js file. If you’re using a different filename or format (like SVG), update the following lines:
DEFAULT_LOGO_URL: 'images/watermark.svg',
DEFAULT_WELCOME_PAGE_LOGO_URL: 'images/watermark.svg'
Make sure all your logo images and icons are placed in the jitsi-meet/images folder.
5. Restart Jitsi Meet Services
After replacing the logo, restart the services to apply the changes:
sudo systemctl restart jitsi-videobridge2
sudo systemctl restart jicofo
sudo systemctl restart prosody
Also, restart the web server to clear the cache and ensure the new logo appears:
sudo systemctl restart nginx
Final Thoughts
Modifying the default logo of Jitsi Meet is a crucial aspect of establishing your brand identity for the video conferencing platform. This guide helps you replace the default logo with your personalized version. You can further enhance the look by changing the background, theme colors, and welcome message.
Looking for expert help with Jitsi Meet? Contact us today for professional Jitsi installation, customization, and ongoing support tailored to your needs.
